The BEST Way to Sharpen Portraits in Photoshop
I Guarantee I Can Teach You to Master Photoshop. Learn How: https://phlearn.com/aaronwillteachyou
Download the sample image here: https://phlearn.com/tutorial/best-sharpen-portraits/
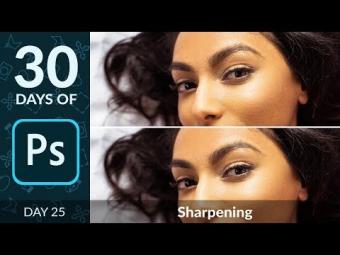
After spending long hours on a photo edit, sharpening is the best way to enhance all of the details you worked so hard to preserve It’s also a great tool to help guide the viewer’s eye to the subject of the image. In this tutorial, we show you the best sharpening method out there to target and highlight the details that matter.
Sharpen with Precision
Before you start sharpening, there’s two important tips to keep in mind. First, sharpening should be the very last step in your post-processing workflow. Make sure to take care of all of the retouching and coloring first – that way you only end up sharpening details that you intended to be in the final image.
Second, sharpening should be done according to whatever you want the size of the final image to be. For example, you would sharpen a full-sized print differently than you would an 800-pixel wide version for the web. So if you’re exporting several different sizes, be sure to sharpen them all separately after you’ve cropped and resized. It takes more time but will make a significant difference in the quality and impact of the sharpening.
VISIT PHLEARN.COM FOR MORE FREE TUTORIALS
https://phlearn.com
SUBSCRIBE NOW FOR MORE FREE TIPS AND TRICKS
http://www.youtube.com/subscription_center?add_user=phlearnllc
LET'S BE FRIENDS!
Instagram ► https://www.instagram.com/phlearn/
Facebook ► https://facebook.com/phlearn
Twitter ► https://twitter.com/phlearn
Phlearn ► https://phlearn.com







YORUMLAR