Smoke dispersion effect | photoshop tutorials cs6
For more free photoshop tutorials visit: http://bit.ly/1Q8u7Op
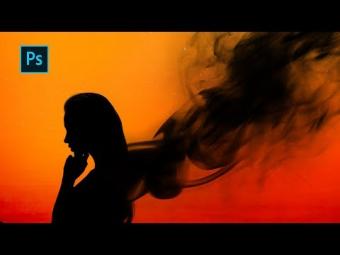
Making a smoke dispersion effect in photoshop
In this photo effects tutorial i will show you how you can create a face that looks like it was made from smoke and add some really good colors to it so it looks more professional. This video is pretty basic so beginners will also find it helpful.
First of all we will start dispersion effect by adjusting the height of original image using transform tool and then we will use masking to hide the real image. Then is the most important part, using the brush.
as always I have included the smoke dispersion brush download link and then all you have to do is load the brush inside photoshop, you can simply drag and drop the brush or you can go to little gear icon at the right of your brush menu. I have shown this option in video so don’t worry about it.
Once you import the dispersion brush all you have to do is start painting with it, now this preset has many smoke brush to apply on the face but i mostly used only one and used other brushes for minor work. Also this is super important trial and error part, you will not get great output in the first time.
Then, when you think the smoke effect has started looking good, its time for some color correction, I mostly use curves and some other adjustment layers. And you will have to adjust setting couple of time until you get the final output.
So, I hope you learned something from this photoshop tutorial and as always if you have any questions feel free to ask me in the comments, and have some fun with photoshop :)
===================================
subscribe at ► http://bit.ly/1xHlepX
===================================
Facebook: https://www.facebook.com/tutorialsjunction
twitter: https://twitter.com/DhruvalGfx
previous video ► http://bit.ly/1VPkDfa
===================================
stock image : http://kawaielli-stock.deviantart.com/art/Girl-stock-photo-361999310
Brush: http://falln-stock.deviantart.com/art/Smoke-Brushes-Set-1-92730901












YORUMLAR