How to Replace Color in Photoshop CC 2017 | Adjust Color Selectively
5 Awesome ways to selectively adjust, enhance and replace color in Adobe Photoshop CC. Learn not only how to change the color of something in Photoshop but also how to enhance it. In this video, I'll share with you 5 ways to adjust and edit colors, since a single method does not work on every image.
Techniques differ from image to image when it comes to color management in Photoshop. One moment you might be dealing with an image with lots of different colors and you want to adjust all of them separately and on the moment, you have an image where you want to adjust and affect just one color and sometimes one object with that particular color. In this tutorial of selective color adjustment, we'll unleash all the different ways to edit photo color so that you are able to face any situaltion.
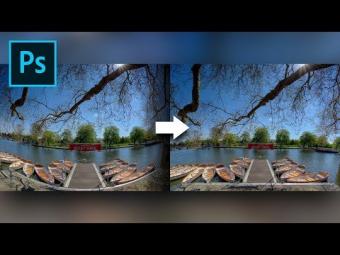
First of all, we will look at how to make color adjustments when you have a lot of things going on in your image. For instance, if it is a landscape with vibrant colors, you know that selecting each color manually and then editing it will neither be effienct nor be accurate most of the times. We'll learn how to deal with it quickly, efficently, accurately and beautifully. In this case Camera RAW, Camera RAW filter in Photoshop or even Lightroom is best for the job.
Since the first method deals with color globally and in case you want to affect a particular area with a particular color, this brings us to our second technique where we will use the Select Color Range in Photoshop. This not only affects color locally but more impostantly, it gives you a mask or allows you to select by color, hence, if you wanted to add any kind of filters ot adjustment layers like brightness/contrast, you can easily do it since it has a mask.
For the third method, there is direclty an option called "Replace Color" in Image, Adjusments. It does a beautiful job but the only drawback is that it is destructive. It does not work with smart object but the plus point is that you can pick the color with which you want to replace with a color picker.
The fourth method will only be applicable when you have and want to adjust mainstream colors in your images like Reds, Greens, Blues, Cyans, Magentas and Yellows, but, here's the thing, you might contradict by saying that these options are also available in camera RAW, however, camera RAW does not have the ability to create masks.
The 5th method is the most advanced and the most time consuming but the quality it delives is massively exceptional. In this too, we use Hue/Saturation Adjustment Layer but, we manually decide the color range. It is a bit tricky but once you get it, you'll become the master of color in Photoshop.
► Subscribe: https://goo.gl/iaROYY
If you think you can help, entertain or even disturb someone by sharing this channel's video. Go ahead! : https://goo.gl/IUhnUl
►LET'S CONNECT:
Facebook: http://facebook.com/piximperfect
Twitter: https://twitter.com/piximperfect
Instagram: https://www.instagram.com/piximperfect
Google+: https://plus.google.com/+UnmeshDinda
Let's not just learn and use Photoshop and Lightroom. Let's play with it! Join me in the game and together we'll reveal some "not-so-talked-about" tips, tricks and tutorials that will AMPLIFY your creativity. Subscribe to connect: https://goo.gl/iaROYY
►Send Your Swag:
Unmesh Dinda
C/O Santanu Nandan Dinda
Quarter No. 303, Tapovan International School Campus,
Dholasan Road
Ahmedabad-Mehsana Express Highway
Mehsana - 384435
Gujarat


YORUMLAR