How to Replace a Sky in Photoshop CC 2017
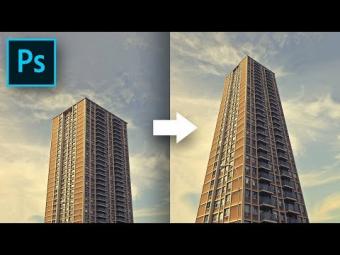
Learn how to change and replace the sky in Photoshop. In this sky replacement Photoshop tutorial, we will go in-depth not only about sky swap in photoshop but also how to find the right sky background images for replacement and where to find them.
Replacing a sky in Photoshop is not just cutting out the current sky and pasting a new one. It's a lot more than that. First off, you need to spend a considerable amount of time finding the right sky for your image. Not every sky would fit. Here what you need to keep in mind. The lighting directions and conditions of the new sky must match with your current sky, otherwise, your image will look odd and might even be disturbing right off the bat. Also, you need to figure out whether you new sky is blurry or is it focussed. You see, in your main image has a shallow depth of field you need to make sure that the new background is also blurry. However, you can also blur it in Photoshop. But here's the catch, if in your image, distant objects are in focus and you replace the sky with a new blurry sky, that will make you photo a total mess.
Secondly, you need to properly make a selection of the sky from your main image and remove it using a mask. I suggest you using the Select and Mask feature released with Photoshop CC 2015.5. It's just awesome at making precise selections. Besides, the refine edge tool kills it. It makes sure no matter how complex your object is, it will find a way to make the right selection. But, at this point, you need to make sure that your sky is in contrast with the foreground. That makes the selection much easier.
►Pro Tip: If it's becoming difficult to select the sky with the quick selection tool. Add a levels adjustment layer and increase the contrast, and play with the sliders to bring out the differences between the sky and the ground or sea. Go crazy with it, don't care about the quality. Now, make the selection with the quick selection tool. You'll see that this makes it much easier for Photoshop to find the edges. Make sure the on the toolbar the, "Sample all Layers in checked". Once your selection is done, you can delete the levels adjustment layer.
The third step is the most difficult step. It is to get your new sky match with your image. Though there are millions of ways of doing it. In this video, I'm going to share a few of the tricks and methods that work almost with all images. There are a lot of parameters that you have to keep in mind while matching a sky. The tone, the color, the brightness, the contrast, the tints and temperature and on and on goes the list. But, to sum it up, it just needs to look good to the eyes.
Just to add, you can also download sky overlays for Photoshop and directly drop them onto you sky as a new layer, they are sometimes transparent and sometimes come with a black background especially in cast of clouds where you might have to change the blend mode to "Screen."
► Subscribe: https://goo.gl/iaROYY
If you think you can help, entertain or even disturb someone by sharing this channel's video. Go ahead! : https://goo.gl/IUhnUl
►LET'S CONNECT:
Facebook: http://facebook.com/piximperfect
Twitter: https://twitter.com/piximperfect
Instagram: https://www.instagram.com/piximperfect
Google+: https://plus.google.com/+UnmeshDinda
Let's not just learn and use Photoshop and Lightroom. Let's play with it! Join me in the game and together we'll reveal some "not-so-talked-about" tips, tricks and tutorials that will AMPLIFY your creativity. Subscribe to connect: https://goo.gl/iaROYY
►Send Your Swag:
Unmesh Dinda
C/O Santanu Nandan Dinda
Quarter No. 303, Tapovan International School Campus,
Dholasan Road
Ahmedabad-Mehsana Express Highway
Mehsana - 384435
Gujarat







YORUMLAR