How To Make Great Videos with COLOR | Part 2
In part two of this three-part series, I begin with grading flat footage (and show some tricks to acquire hidden LUTs inside of Premiere Pro); you'll get to see several examples of different creative looks on the same content and this is followed by showing you how to use secondary color correction to target specific pixel/color ranges, correct/modify the color of objects, skin tones or even replacing a sky/background.
Timestamped chapters below.
---
00:29 Brief review of previous episode topics (Basic corrections panel, Creative, Curves & Vignette)
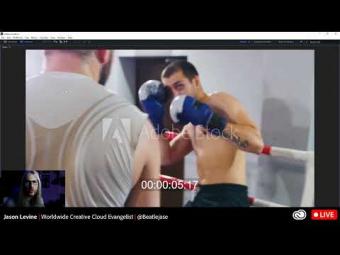
01:49 Reviewing original 7D footage with color baked in (not flat)
05:34 Using an Input LUT to flatten your footage, after the fact
08:47 Locating ‘hidden’ Legacy Camera LUTs from within the Package Contents of the application
12:56 Shooting advice: get your exposure correct during capture
14:37 Using an Adjustment Layer to apply the look/grade to footage
16:52 Showing different ‘look’ variations from the same session
17:41 Secondary Color Correction (object) using the HSL Secondary panel in Lumetri
22:44 Using Copy/Paste Attributes to apply secondary color corrections across multiple clips
24:42 Using HSL Secondaries to correct skin tone
30:04 Using HSL Secondaries for sky replacement
36:15 Some side-by-side ‘before and after’ examples of flat vs. graded footage
---


YORUMLAR