How To Make Great Video, Part 5 | Playing with Dimensions (2D, 3D, 360)
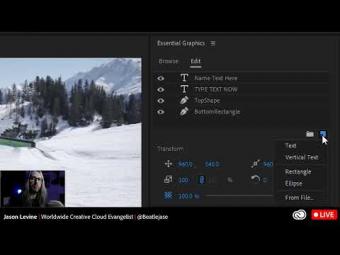
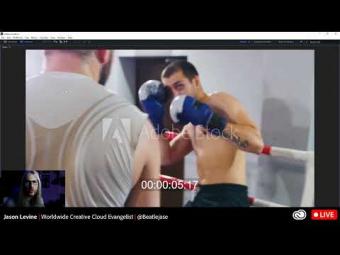
In part five of this seven part series, we'll work with everything from 2D Adobe Photoshop files (and importing/handling PSD layers in Premiere Pro) to native 3D extruded text in After Effects, to integrating more 3D objects and elements via Cinema4D Lite (which ships with After Effects CC) as well as 2D/3D character animation with Adobe Character Animator and finally wrap up with showing the workflow for editing and publishing 360 VR content, both monoscopic and stereoscopic, including how to integrate ambisonic/spatial audio files into your VR creations. Video recorded live in Summer 2017**.
--
Find timestamped chapters below.
01:13 Importing a layered PSD file
05:58 Revealing the PSD Sequence (with selected layers)
06:53 Animating Opacity of the Photoshop layers (just like video clips)
08:37 Animating effects on Ps layers (gaussian blur)
10:28 Nesting the Ps sequence into another sequence
12:51 Adding Blend Modes
14:07 Creating a new Photoshop file from within Premiere Pro
19:18 Making 3D text in After Effects
27:11 Making a new 3D vector Shape Layer
29:19 Dynamically-linking the 3D comp from AE into PPRO
31:04 Working with Cinema4D Lite for more 3D workflows in After Effects
41:10 Bringing 2D & 3D Ps/Ai characters to life with Character Animator
45:29 Workspace Modules, Template Puppets + Getting Started tutorials right in the app
50:42 360/VR video and Ambisonic spatial audio in Premiere Pro
55:50 The ‘equirectangular’ stitched media (Monoscopic 360)
57:11 Enabling the VR Viewer in the Program Monitor
01:01:13 Working with Stereoscopic 360 VR
01:02:40 Adding Ambisonic/Spatial audio to your 360/VR video
--
**this video was recorded in summer 2017, and as such, some of the workflows mentioned have been modified and/or changed slightly since the original broadcast of this video. Please check out the CC 2019 update videos on this channel for the latest additions to the Adobe applications.
--
Find timestamped chapters below.
01:13 Importing a layered PSD file
05:58 Revealing the PSD Sequence (with selected layers)
06:53 Animating Opacity of the Photoshop layers (just like video clips)
08:37 Animating effects on Ps layers (gaussian blur)
10:28 Nesting the Ps sequence into another sequence
12:51 Adding Blend Modes
14:07 Creating a new Photoshop file from within Premiere Pro
19:18 Making 3D text in After Effects
27:11 Making a new 3D vector Shape Layer
29:19 Dynamically-linking the 3D comp from AE into PPRO
31:04 Working with Cinema4D Lite for more 3D workflows in After Effects
41:10 Bringing 2D & 3D Ps/Ai characters to life with Character Animator
45:29 Workspace Modules, Template Puppets + Getting Started tutorials right in the app
50:42 360/VR video and Ambisonic spatial audio in Premiere Pro
55:50 The ‘equirectangular’ stitched media (Monoscopic 360)
57:11 Enabling the VR Viewer in the Program Monitor
01:01:13 Working with Stereoscopic 360 VR
01:02:40 Adding Ambisonic/Spatial audio to your 360/VR video
--
**this video was recorded in summer 2017, and as such, some of the workflows mentioned have been modified and/or changed slightly since the original broadcast of this video. Please check out the CC 2019 update videos on this channel for the latest additions to the Adobe applications.



YORUMLAR