How To Make Great Video, Part 1 | Project Setup & Importing Footage
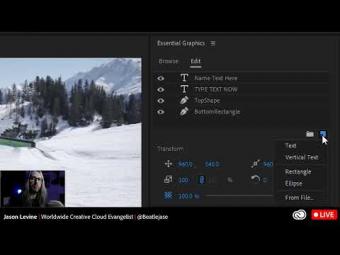
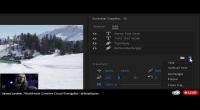
In part one of this six-part series, I cover the process of starting a project from scratch, setting up file paths, GPU acceleration settings, importing footage, ingest & transcoding, audio settings, UI and performance optimizations and all the basics to give you the best playback and editing experience. Find timestamped chapters below. Recorded in May 2017**
--
CHAPTERS:
01:31 Start a New Project
02:02 Mercury Playback Settings/GPU Acceleration Options
07:13 Inside Premiere Pro's UI/Panels & Workspaces
09:30 Media Browser/Import Footage
15:17 Ingest
17:17 Audio Hardware Settings
20:00 Ingest Settings/Copying/Transcoding
25:55 Vertical Video Import
28:30 List View/Metadata Panel
31:30 Creating a Sequence/Timeline | Project Panel as your Visual Storyboard
32:38 New Sequence Menu item/Customizable Options
35:20 Adjust Track Heights/Video-Audio Track Display Settings
41:42 Settings Menu/Fractional Playback-Pause/Dropped Frame Indicator/Hi-Quality Playback
43:40 Proxies (making proxy files)
49:23 Metadata/Metadata Display Options in Project Panel, List View
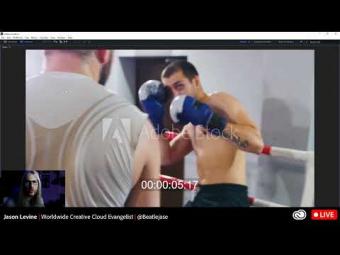
52:00 Working with AdobeStock Content via CC Libraries Panel
54:15 Creating Bins
**This video series was created in May/June 2017 using the CC 2018 versions of Premiere Pro, After Effects and Audition. As such, there are several features and workflows that were not yet implemented. For updates to the aforementioned applications, check out my CC 2019 update videos on this channel.





YORUMLAR