Frequency Separation In-Depth with Mixer Brush in Photoshop
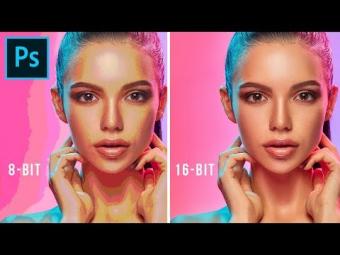
THE Professional Way to Soften Skin for High-End Retouching in Photoshop using the Amazing technique of Frequency Separation. Learn how to use the "mixer brush" to perform Frequency Separation for fantastically finer results with much ease. In this tutorial, we are going to break down the concept into small and easy chunks and start right from the beginning.
► DOWNLOADS:
1. Sample Image: https://goo.gl/AmaVir
2. Finished PSD: https://goo.gl/Y8AiJr (Only for our Patreon Family)
► IMAGE CREDITS
Photographer: Pasi Järvenpää
Instagram: @terry_bull
Model: Ida Annica
Instagram: @ida_annica
PiXimperfect is free, and will always be.
► SUPPORT the cause: https://www.patreon.com/piximperfect
We are going to start off by understanding the basic principles of Frequency Separation and why to use it as a technique and what advantages it has. Firstly, we'll learn what is Frequency and how is it related to images. Then, we'll move on to learn how to separate different frequencies in an image to target the skin texture and the color separately. After that, we will really go in-depth into what is mixer brush and how to use it in this technique. Also, I'm going to share my favorite tips and tricks to get the softening done faster, finer, and easier. Hope this video helps you!
► SHARE: https://goo.gl/IUhnUl
►LET'S CONNECT:
Facebook: http://facebook.com/piximperfect
Twitter: https://twitter.com/piximperfect
Instagram: https://www.instagram.com/piximperfect
Google+: https://plus.google.com/+UnmeshDinda


YORUMLAR